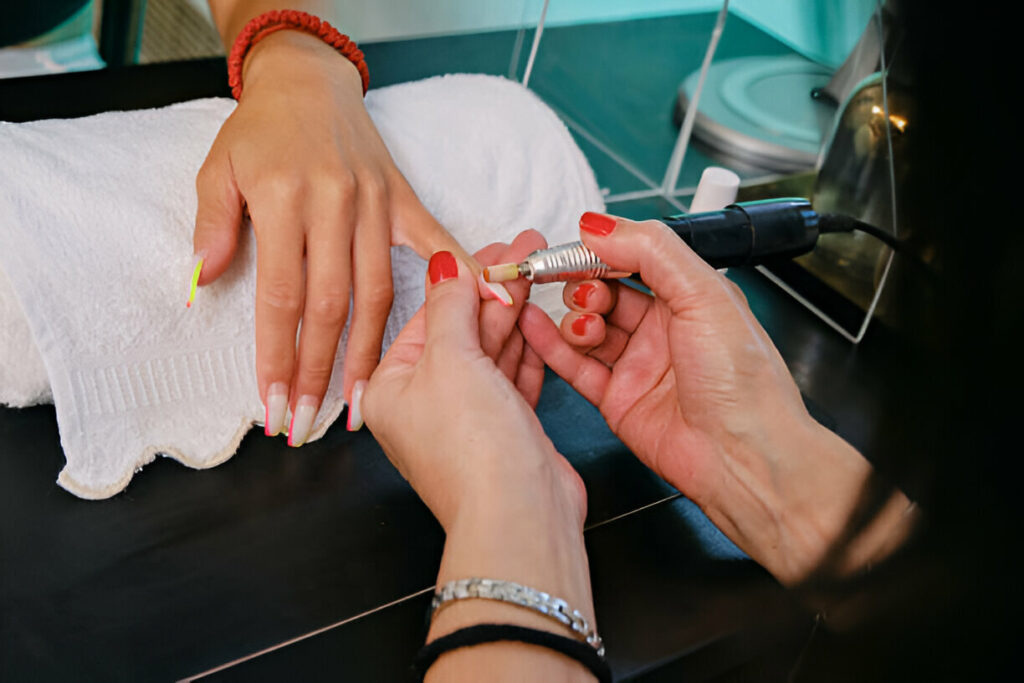
Mastering the Art: A Comprehensive Guide to Acrylic Nail Extensions
In the ever-evolving world of beauty and wellness, one trend stands the test of time with its timeless elegance and versatility: acrylic nail extensions. Whether you’re aiming for a chic, sophisticated look or a bold statement, acrylic nails offer endless possibilities for self-expression. In this step-by-step guide, we’ll delve into everything you need to know to master the art of acrylic nail extensions.
Understanding Acrylic Nail Extensions
Before we dive into the intricacies of the application process, let’s take a moment to understand what acrylic nail extensions are and why they have become a staple in the beauty industry. Acrylic nails are artificial enhancements that are applied over natural nails to extend their length and enhance their strength. Made from a combination of liquid monomer and powder polymer, acrylic nails are renowned for their durability and long-lasting finish.
The Benefits of Acrylic Nail Extensions
Acrylic nail extensions offer a plethora of benefits that make them a popular choice among beauty enthusiasts. Firstly, they provide added length and strength to natural nails, making them ideal for individuals who struggle with brittle or weak nails. Additionally, acrylic nails are highly customizable, allowing you to choose from a wide range of shapes, lengths, and designs to suit your personal style.
Step 1: Preparation
As with any beauty procedure, proper preparation is key to achieving optimal results. Begin by ensuring that your natural nails are clean, dry, and free from any polish or residue. Trim and shape your nails to your desired length and file the edges to create a smooth surface.
Next, gently push back your cuticles using a cuticle pusher or orangewood stick, taking care not to cause any damage to the surrounding skin. This step is essential for creating a clean canvas for the acrylic application and ensuring a seamless finish.
Step 2: Application of Tips
Once your nails are prepped and ready, it’s time to apply the acrylic tips. Start by selecting the appropriate size tip for each nail, ensuring that it fits snugly from sidewall to sidewall without any gaps. Apply a small amount of nail glue to the underside of the tip and press it firmly onto the natural nail, holding it in place for a few seconds to allow the glue to set.
Continue this process for each nail, taking care to align the tips evenly and maintain a uniform shape. Once all the tips are applied, use a nail clipper to trim them to your desired length, keeping in mind the overall look you wish to achieve.
Step 3: Acrylic Application
With the tips securely in place, it’s time to apply the acrylic overlay. Begin by preparing your acrylic liquid and powder according to the manufacturer’s instructions, ensuring the proper ratio for optimal consistency.
Dip your acrylic brush into the liquid, then into the powder, creating a small bead of acrylic on the tip of the brush. Place the bead near the cuticle area and gently brush it towards the tip, using long, sweeping motions to create a smooth, even layer.
Continue this process for each nail, working quickly but carefully to ensure that the acrylic does not dry before you have a chance to shape it. Once the desired thickness is achieved, use a file and buffer to shape and smooth the nails, paying close attention to the sidewalls and free edge for a flawless finish.
Step 4: Finishing Touches
With the acrylic application complete, it’s time to add the finishing touches to your nail extensions. Begin by buffing the nails to remove any rough edges or imperfections, taking care to create a smooth surface for polish application.
Next, choose your desired nail polish color and apply it evenly to each nail, allowing it to dry completely before applying a second coat for added depth and intensity. Once the polish is dry, finish with a high-quality top coat to seal in the color and add a beautiful shine to your acrylic nail extensions.
Maintaining Your Acrylic Nail Extensions
Proper maintenance is essential for ensuring the longevity and beauty of your acrylic nail extensions. To keep them looking their best, avoid exposing them to harsh chemicals or excessive moisture, as this can cause lifting or damage to the acrylic.
Additionally, be sure to schedule regular fills every 2-3 weeks to fill in the gap between the natural nail and the acrylic tip, keeping your nails looking fresh and flawless. With proper care and maintenance, your acrylic nail extensions will continue to dazzle and delight for weeks to come.
Conclusion
Acrylic nail extensions are more than just a beauty trend – they’re a timeless accessory that allows you to express your unique style and personality. By following this step-by-step guide, you can master the art of acrylic nail extensions and enjoy beautiful, long-lasting nails that are sure to turn heads wherever you go. So why wait? Dive in and discover the endless possibilities of acrylic nail extensions today!


Leave Your Comment